
9.2 Add New Email Campaign

To create a new email campaign, staff can click the + New Campaign button located at the top-right corner of the listings page. They will then be directed to the Send an Email template.
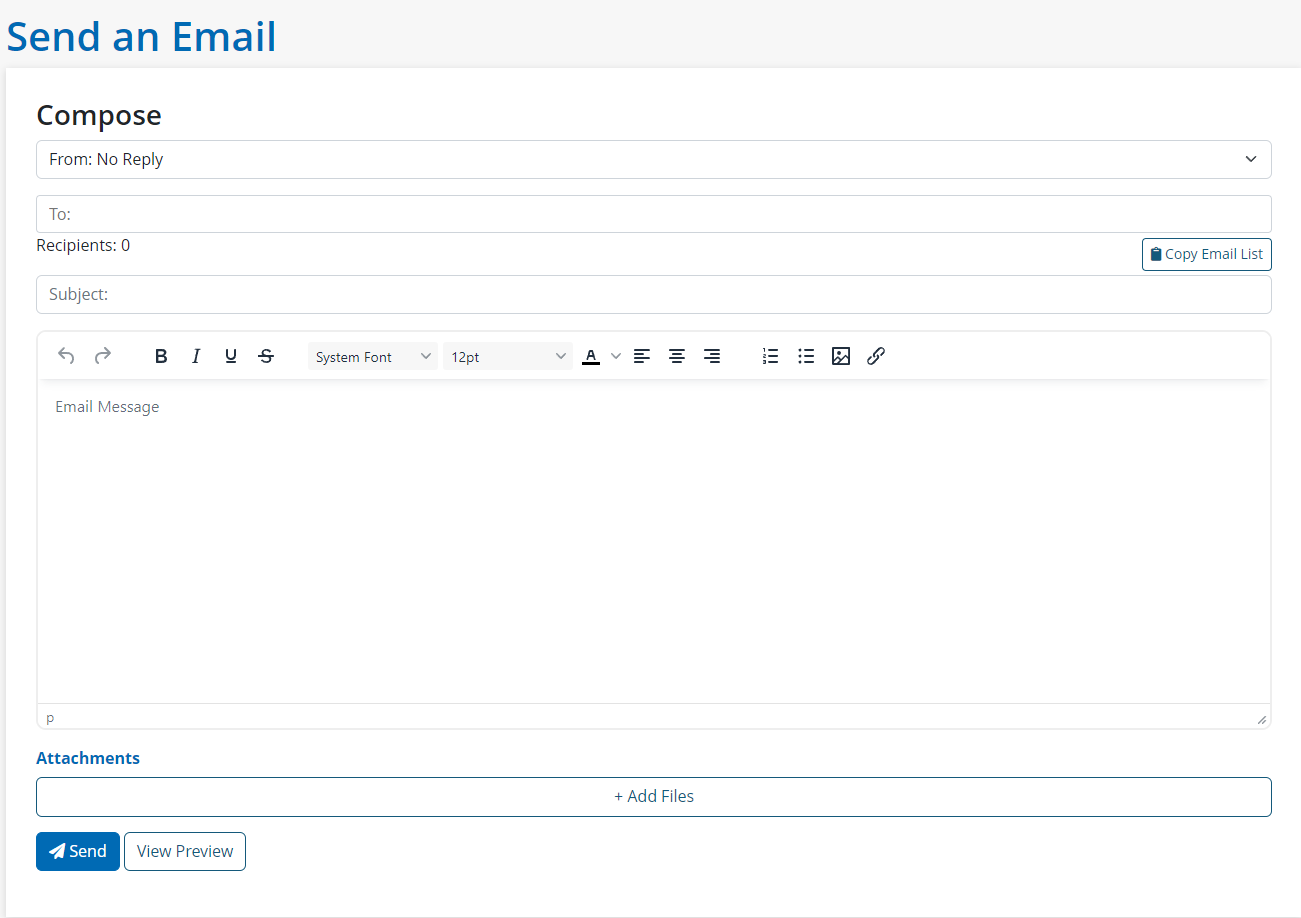
To send an email campaign, staff must complete the following:
1. Who the email is From: Can select either ‘No Reply’ or the staff’s work email.
2. Who the email is To: Staff can begin typing in all the client name(s) they wish to send to, and list will auto-populate with applicable clients. To add the client simply click their name.
Note: Staff can send a campaign to all clients by selecting All Clients. This will send it to all open clients within the tool.
3. The Subject line of the email.
4. The email Content: Using the open text field staff can write out the content of the email, as well as add links, or images.
5. Add any file Attachments: By clicking + Add Files staff will be able to upload a new file for this email campaign, or attach an existing one using the file manager resource library.

Once complete, staff can hit Send to email the campaign immediately, or select View Preview which will bring up a preview window of what the email will look like once sent.
Note: When a campaign has been successfully sent, staff will see a green Message(s) sent for delivery indicator at the top of the campaigns’ page.
